


After you've been working with Power Pages for some time, it will become obvious that it can be difficult to present website changes to stakeholders for approval without those same changes being immediately visible to your website visitors. To solve this problem, you'll want to have at least 3 separate Power Platform environments, with a copy of the website in each environment. These 3 environments will become your Development (Dev), Test, and Production (Prod) environments. Later on in this article, I'll guide you through creating and deploying your website to each of these environments, but for now, I want to give you a high-level overview of what a typical development workflow will look like with this configuration.
Requested changes are worked on in the Dev environment.
Once the developer is satisfied with the changes, they are then deployed to the Test environment.
In the Test environment, stakeholders review the changes and provide approval.
Once changes are approved, changes are then deployed to the Prod environment.
This workflow will allow you to simultaneously work on new features for the website while awaiting approval on previously completed features, all while ensuring that users only see the features that have been fully reviewed and approved.
This multi-environment configuration is formally referred to as Application Lifecycle Management, or ALM for short. For more information on Power Pages ALM as a whole, refer to Overview of Power Pages ALM.
Prerequisites
Before we can get started, you'll need to have at least 2 Power Platform environments created, with one of them (your Dev environment) containing your website content. You will also need to have an Azure DevOps project created, with a repo containing the website content downloaded from your Dev environment. If you don't have these set up yet, or if you want to start with the same setup as mine to make following along easier, you can follow my guides on How to create a Power Platform test environment, How to create a new Power Pages website, and Using source control with Azure DevOps and Power Pages websites to do so, and then come back here when you're done.
Prepare target environments
You now have 3 Power Platform environments and a Power Pages website stored in your Dev environment and an Azure DevOps project repo. Logically, you might think that simply uploading your website content to the target environment will automatically create and configure a new website if one doesn't already exist. Unfortunately, this isn't the case, so you'll need to go through a specific one-time process of "preparing" each of your target Power Platform environments so that they are ready to receive the website content.
Create a new website
Follow the same steps that you took in your Dev environment (i.e. How to create a new Power Pages website) to create a new website in each of your target environments (i.e. Dev and Test). Make sure to choose the same template, such as "Blank app". Otherwise, the website content from your Dev environment won't be compatible with your Test and/or Prod websites.
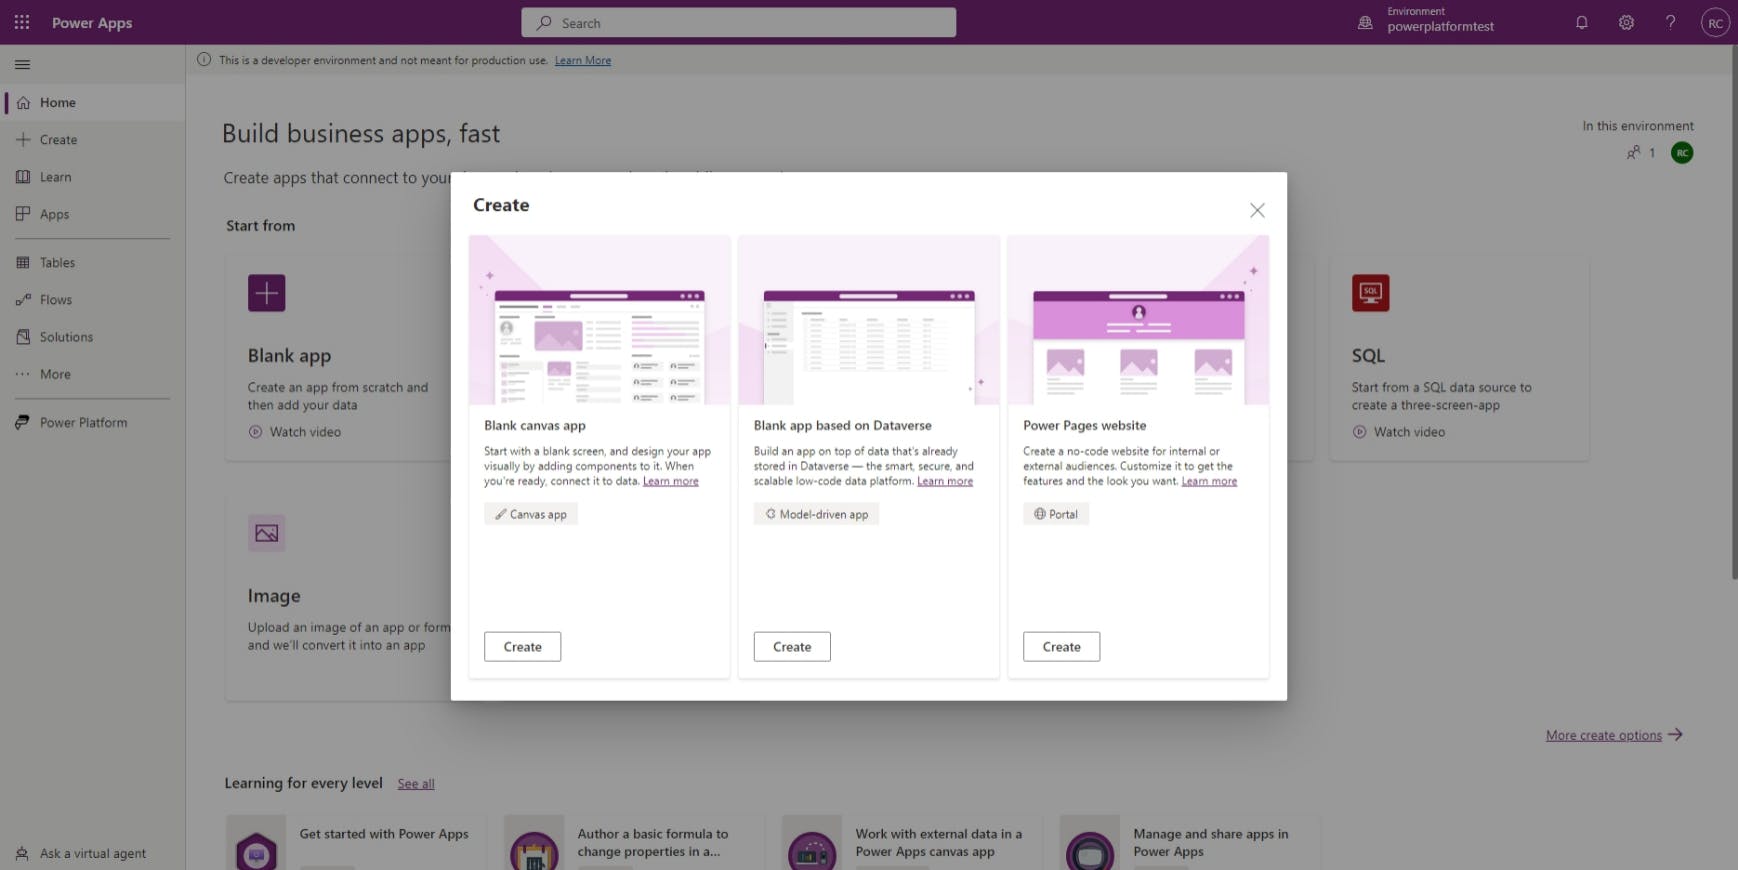
Once you select the right template, I recommend giving the website an environment-specific name, such as "[website name] Test Site" for your Test environment, and "[website name]" for the Prod environment, as the name will be visible to your users.
Finish configuring your site similarly to the one in your Dev environment and hit the final Create. Repeat these steps for each of your target environments. Once the site has been fully created in each of the target environments, we're ready to proceed to the next step: deleting the site we just created.
Wait...what?!
Deleting the website record and portal app
That's right. In order for the website content from our Dev environment to successfully be rendered by our target environments, we need to remove the delete a couple of pieces of configuration that were automatically created.
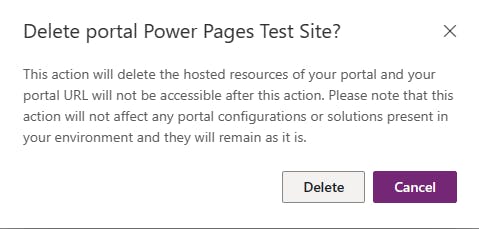
First, we need to delete the website record.
To delete the website record:
Go to make.powerapps.com and make sure the right environment is selected in the top-right corner.
Select Apps from the side menu.
Select Portal Management from the apps list.
Select the checkbox to the left of the newly-created website record, usually named "[Website name] - [address]"
Choose Delete from the top menu.
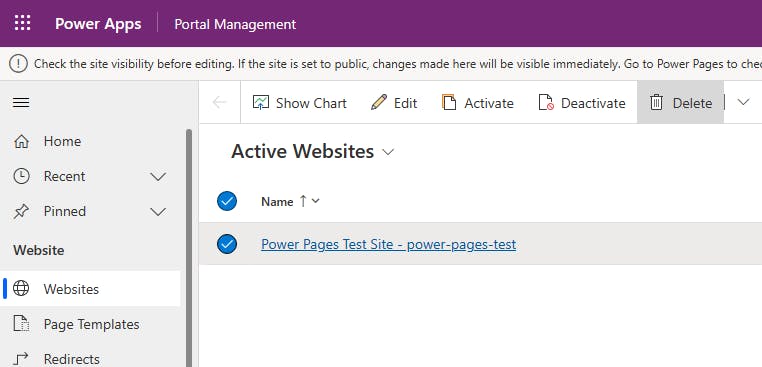
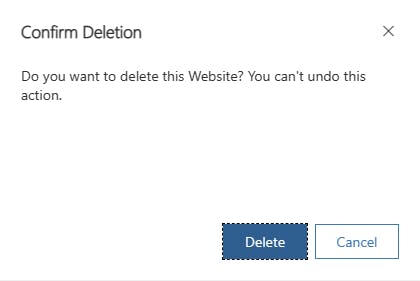
- Confirm deletion.
Next, we need to delete the app associated with the newly-created Power Pages website.
To delete the app for the newly-created website:
Go to make.powerapps.com and make sure the right environment is selected in the top-right corner.
Select Apps from the side menu.
Select the checkbox to the left of the newly-created website's app, which should have the same name as the website. Be sure NOT to select the Portal Management app.
Choose Delete from the top menu.
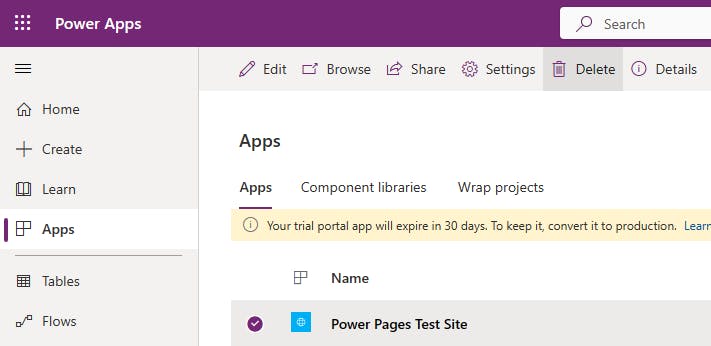
- Confirm deletion.
With the portal app and website record deleted, we're now ready to upload the website contents from our Dev environment. For this initial setup, we're going to upload the contents manually. Don't worry though, this is a one-time process; after this, we're going to configure an Azure DevOps pipeline to deploy the website content automatically.
Manually upload website content
Now, in the terminal window of your local machine, navigate to the local copy of your project repo, like so:
cd ~/Documents/powerplatformdemos
Next, we need to authenticate with the target environment. To do this, you'll first need the URL for your target environment, which can be found by going to: Power Platform Admin Center > Environments, choosing the target environment, and then copying the Environment URL.

With that copied, go back to your terminal and run the following command:
pac auth create -u [Environment URL] -n [optional environment name]
This command will prompt you to authenticate into the target environment and, upon successful authentication, will create an authentication profile on your machine that can be used for future commands.
Now, we can run the following command to upload the website content from our Dev environment into our target environment:
pac paportal upload --path ./websites/[website-folder-name]
Once this command finishes running, we're ready for the last step of our one-time setup: recreating the website in each target environment.
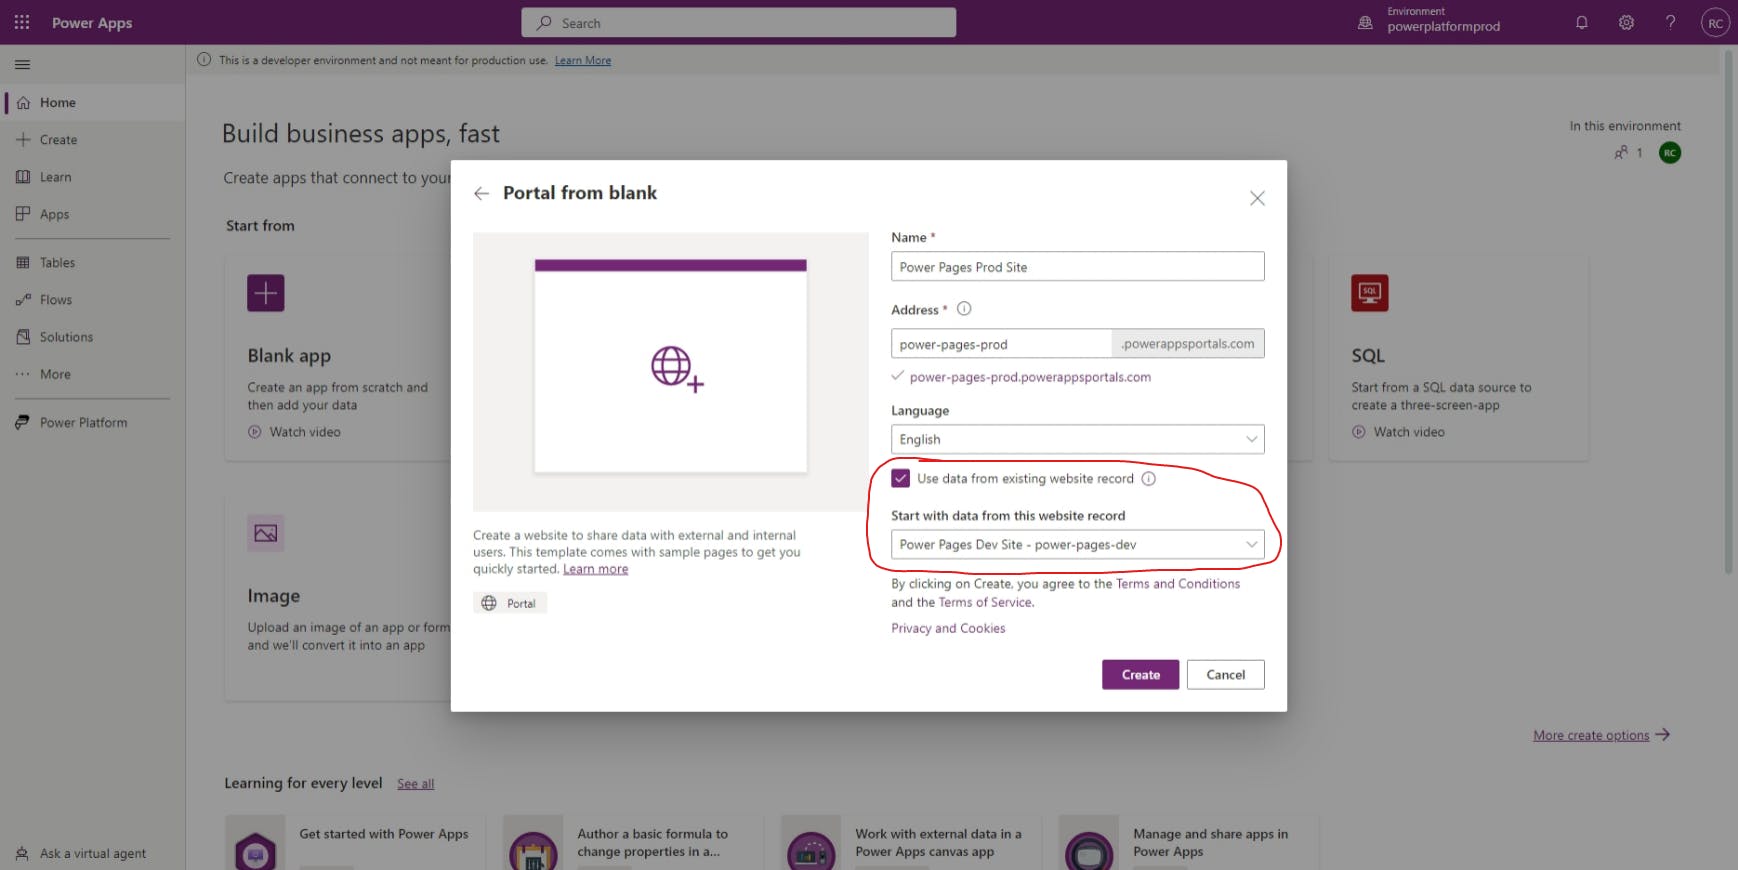
Recreating the website
Just like before, follow the steps to Create a new website. However, this time, make sure to select the checkbox Use data from existing website record and then choose the website record that came from your Dev environment.
Great! We're now finally ready to set up our Azure DevOps pipeline to deploy future versions of our site.
Create a new Azure DevOps pipeline
While it is possible to use the Power Platform CLI to upload our website content to our Test and Prod environments, it's not the best use of our time. Furthermore, if we went that route, we would need to document the entire process and hope that all of the developers on our team follow the same process. Instead, let's set up an Azure DevOps pipeline so that our website content automatically gets uploaded to the Test and Prod environments.
Note: this pipeline requires the Power Platform Build Tools to be added to Azure DevOps, as well as a service connection to your target environment. See Get Microsoft Power Platform Build Tools for instructions on how to configure both.
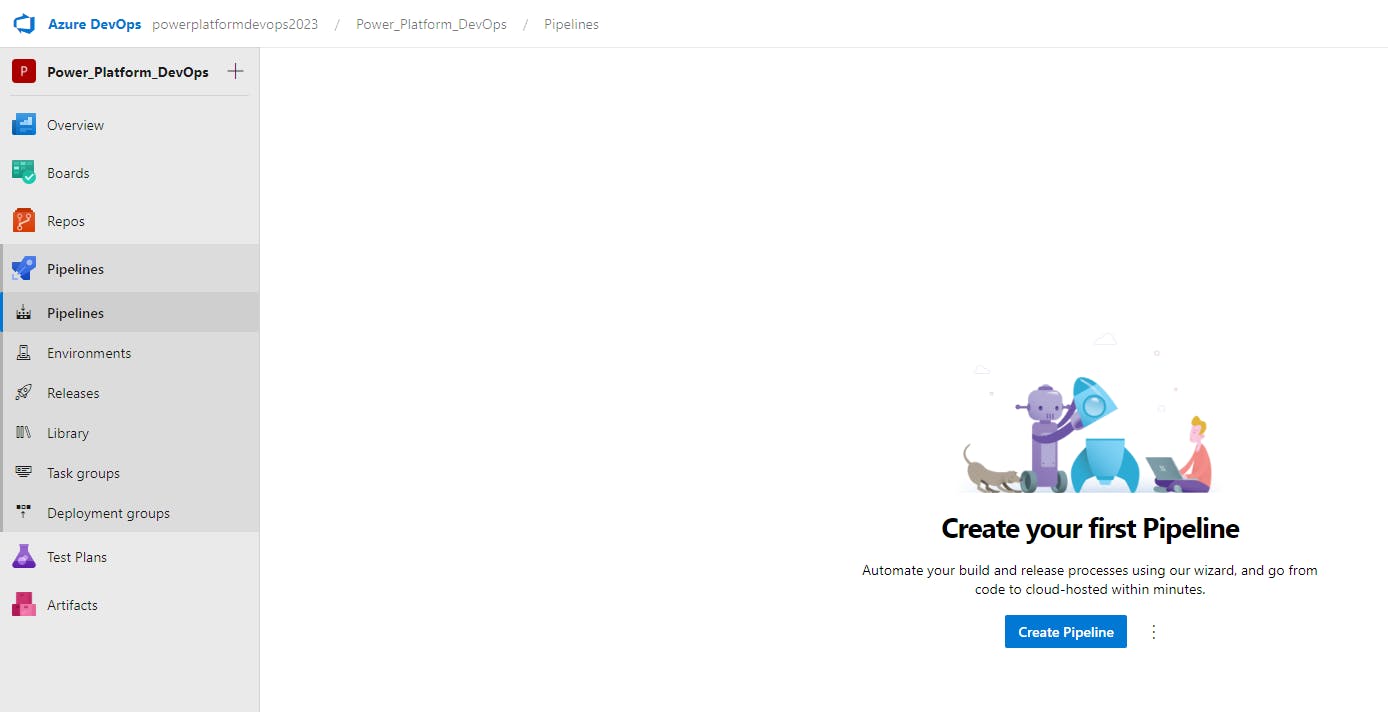
Within the Pipelines section of your Azure DevOps project, let's go to Pipelines and select Create Pipeline.
From here, choose the following options:
Azure Repos Git
Repo name (i.e.
powerplatformdemos)Starter pipeline
This will create a new azure-pipelines.yml file at the root of your project repo. With this file open in Azure DevOps, replace the default code with the following:
# only run pipeline for changes within the 'websites' folder, and only on the 'main' branch of the repo.
trigger:
  branches:
    include:
      - main
  paths:
    include:
      - websites/*

# use a Windows VM, as it is necessary for the Power Platform Tools
pool:
  vmImage: windows-latest

steps:
  # checkout the repo
  - checkout: self

  # install the Power Platform tools (required before running Power Platform tasks)
  - task: PowerPlatformToolInstaller@2
    inputs:
      DefaultVersion: true

  # upload the website content to the test environment
  - task: PowerPlatformUploadPaportal@2
    inputs:
      authenticationType: 'PowerPlatformSPN'
      PowerPlatformSPN: [test-env-service-connection]
      UploadPath: './websites/[website-folder-name]'

  # upload the website content to the prod environment
  - task: PowerPlatformUploadPaportal@2
    inputs:
      authenticationType: 'PowerPlatformSPN'
      PowerPlatformSPN: [prod-env-service-connection]
      UploadPath: './websites/[website-folder-name]'
Make sure to replace [test-env-service-connection], [prod-env-service-connection], and [website-folder-name] with their respective values from your unique configuration.
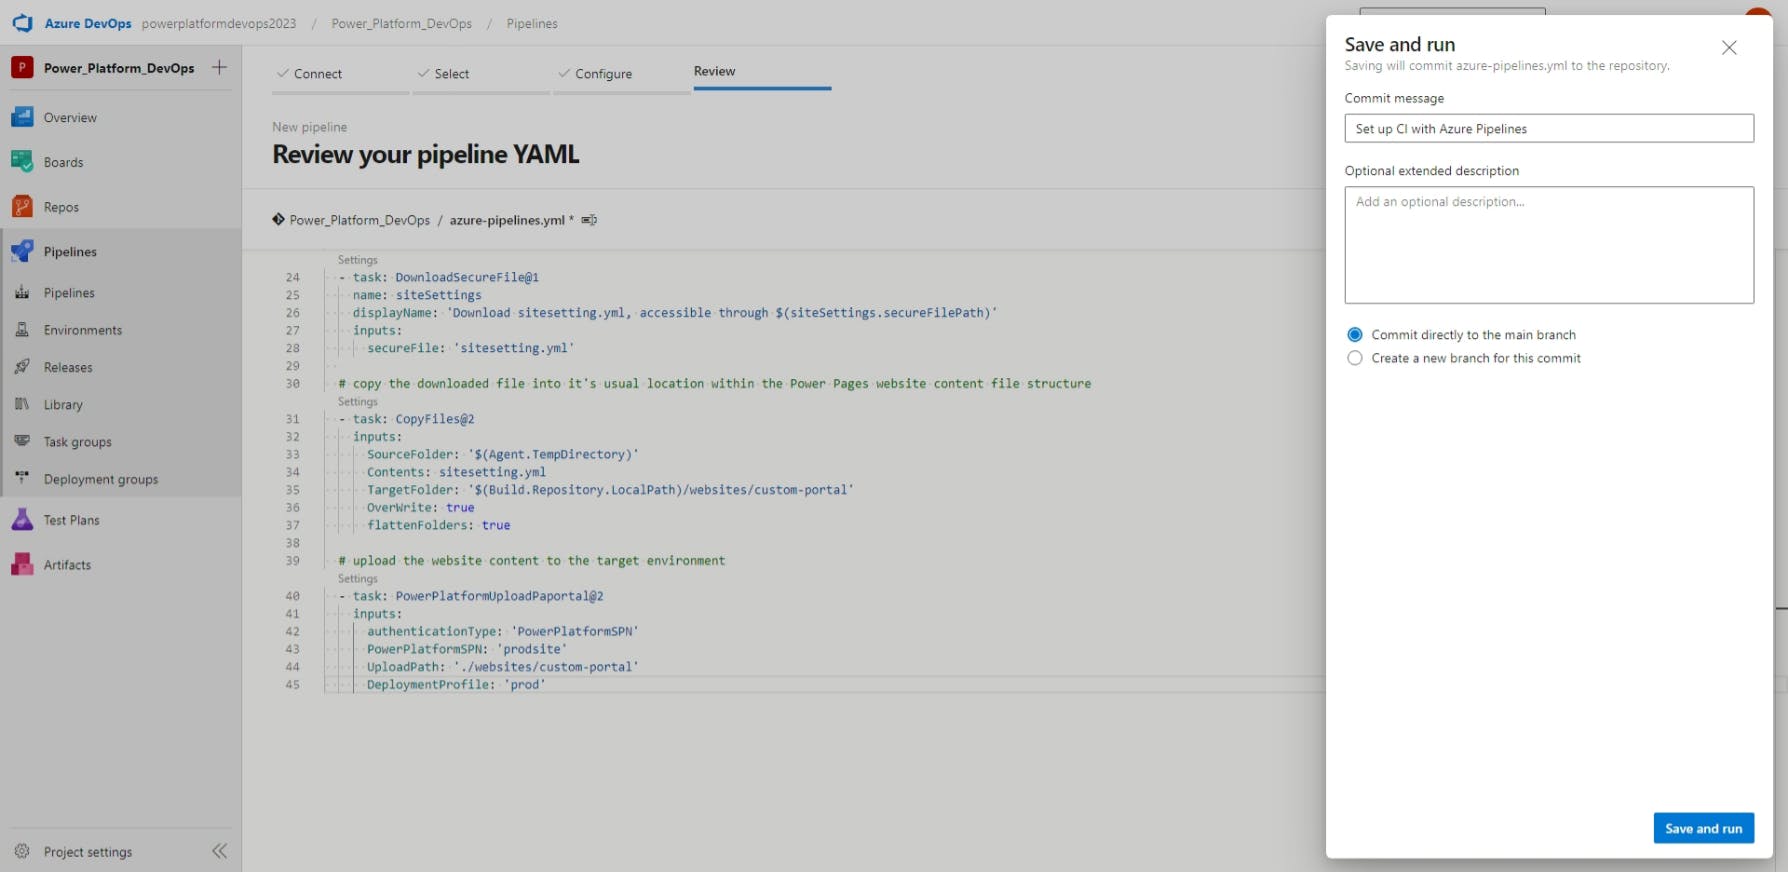
With our pipeline code added, let's Save and run. If you have branch security enabled, you may need to Create a new branch for this commit and then submit a pull request (PR). Otherwise, we can Commit directly to the main branch.
If this is a new pipeline, you'll also need to grant your pipeline access to the service connections.
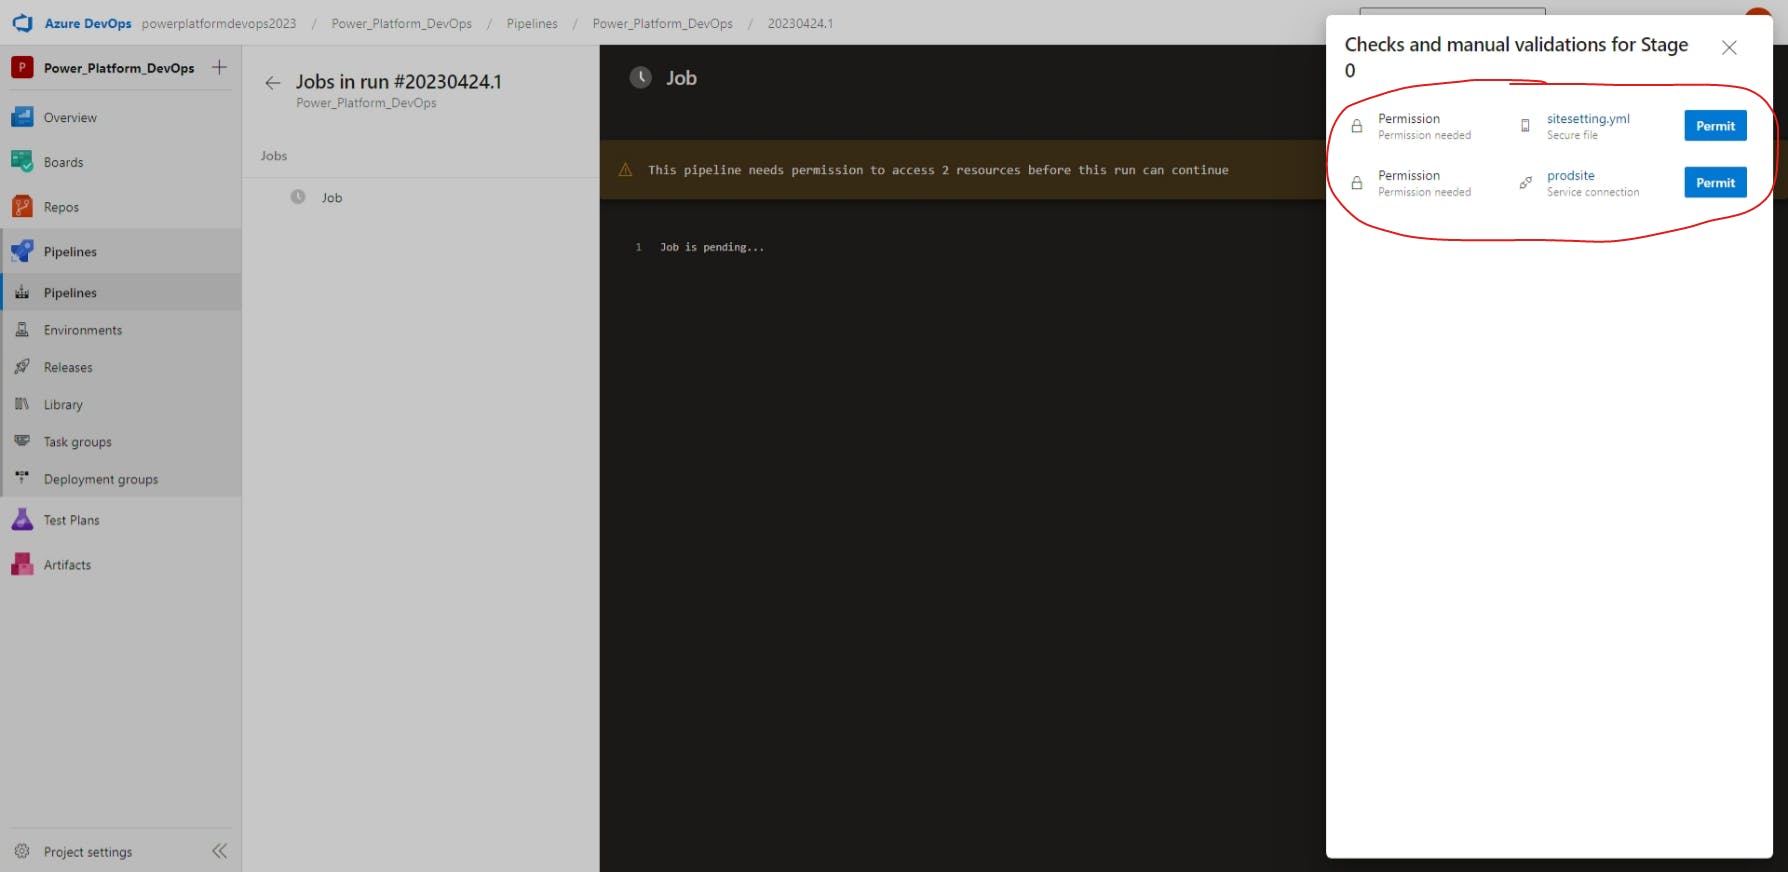
Once you've granted access, your pipeline will now run, deploying any website changes from your Dev environment to your Test and Prod environments.
Conclusion - Next steps
Great job! You've now configured a true CI/CD pipeline for deploying your Power Pages website content. From here, there are several improvements you'll want to make, such as:
Adding UI tests to ensure that deployments don't cause breaking changes.
Protect secrets using
.gitignoreand Azure DevOps secure files.Customize deployments for each environment through the use of deployment profiles.
However, this is a HUGE improvement over just a single environment for your website, or even over manually uploading content from one environment to another.
Thanks for reading and, if you found this article useful, please consider sharing it across your network so others may be able to benefit from this information.
Take care!